


 |
 |
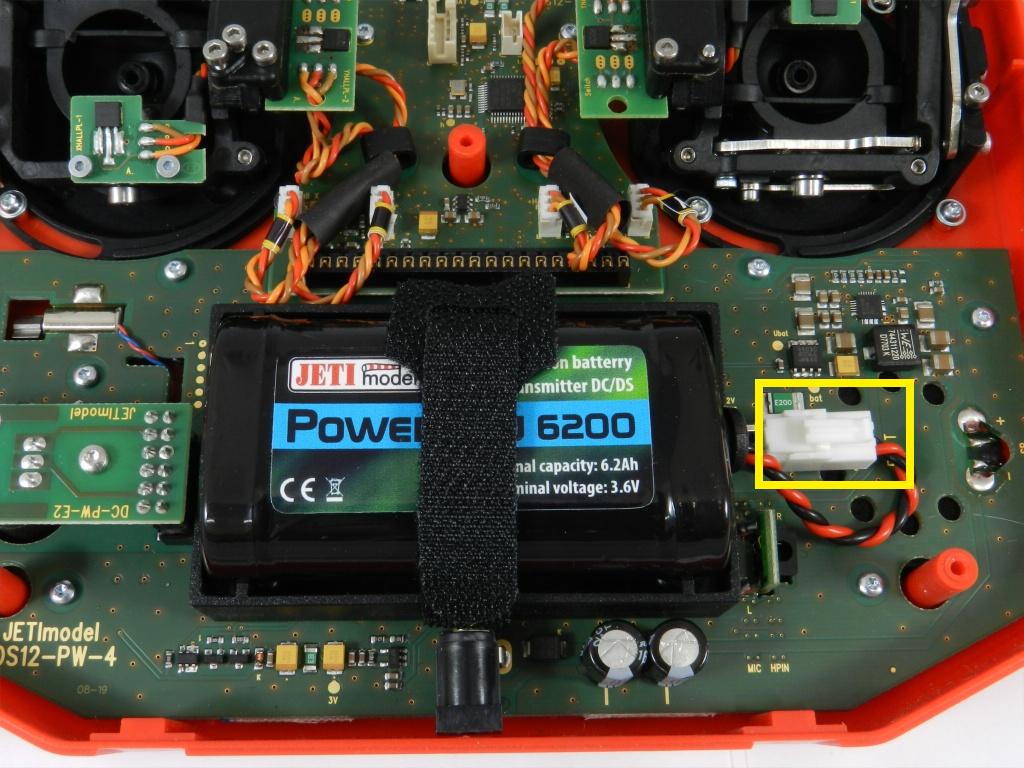
Remove the back cover of the transmitter and disconnect the battery.
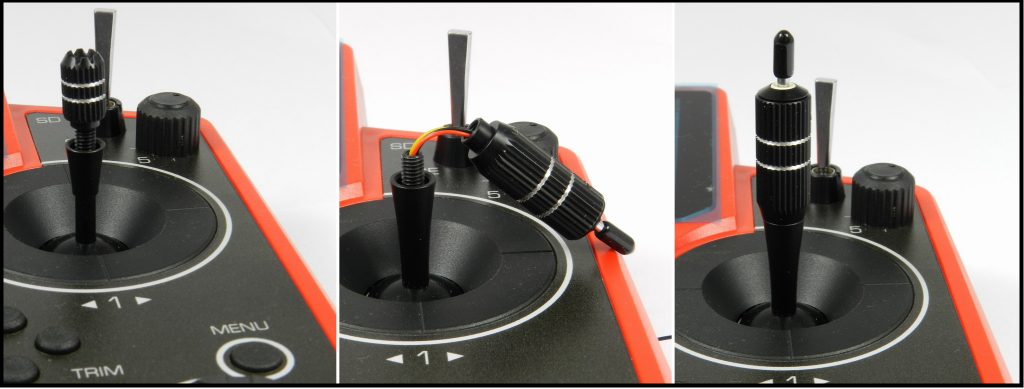
Unscrew the upper part of the stick assembly (anticlockwise). Insert the connecting wires through the hollow of the transmitter stick. After installation of the optional stick ends with switch or button make sure that while adjusting the stick length you observe the wires that pass through the stick shaft and through the gimbal opening in order to prevent damaging the connecting cables. The safest method is to remove the small set-screw from the side of the stick housing to allow the switch or knob internals to remain stationary while you rotate the stick housing for height adjustment.
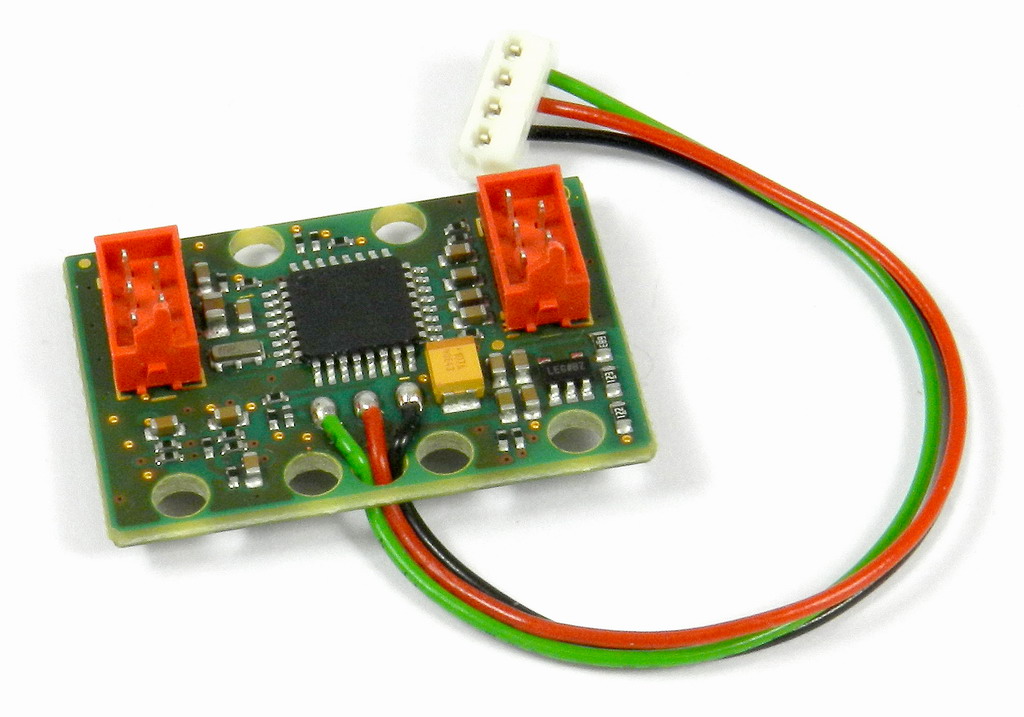
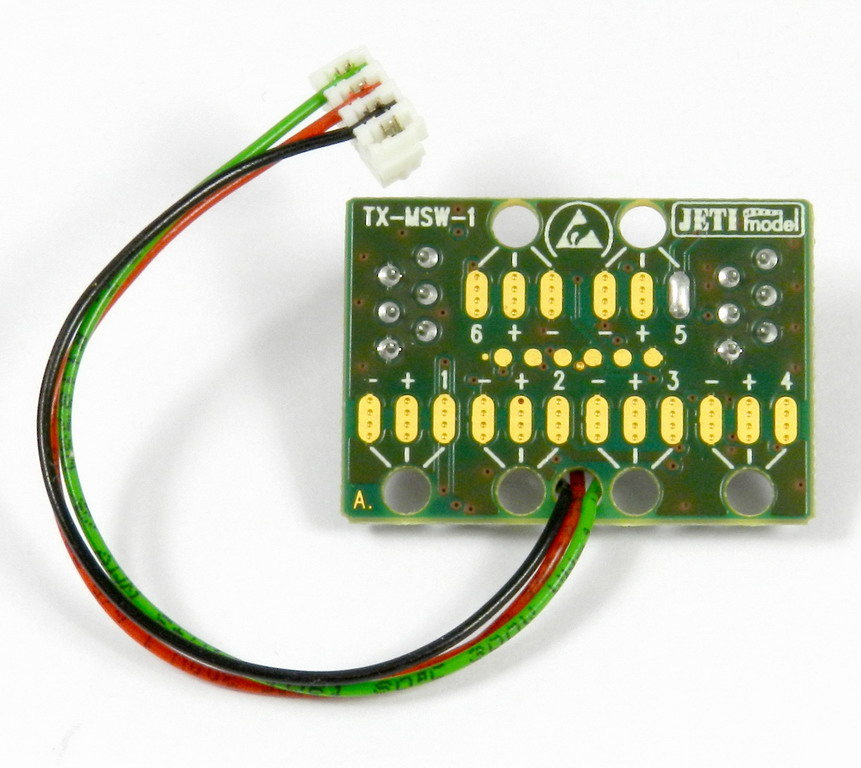
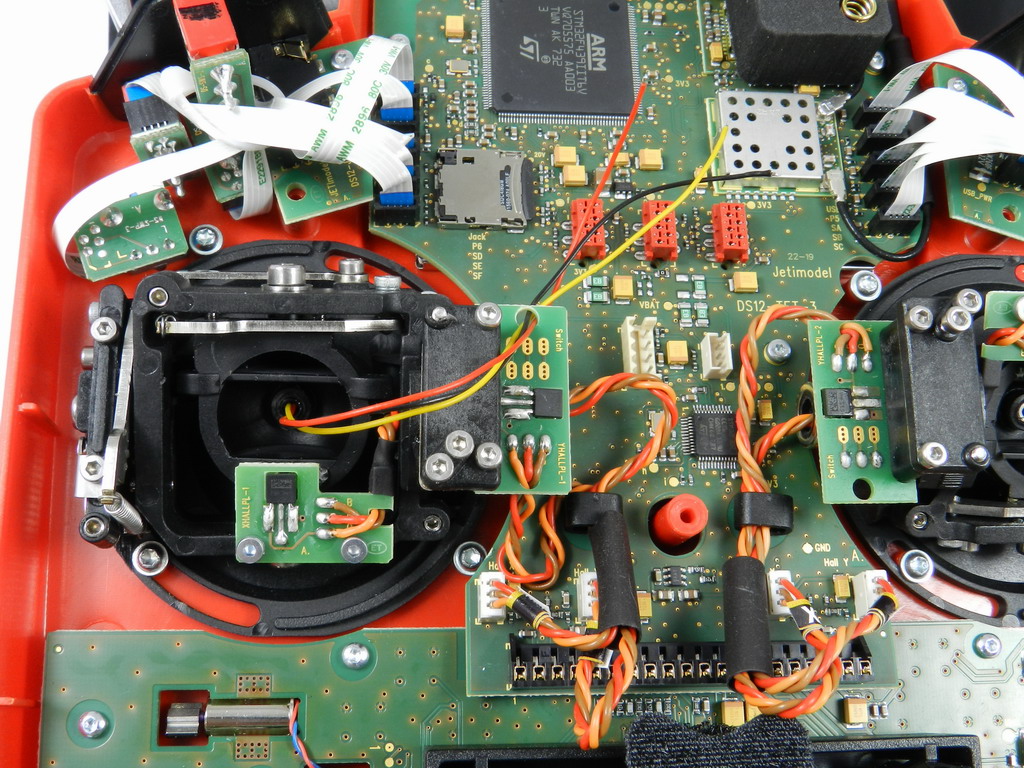
Connect the TX-MSW board into red connectors on the PCB transmitter. The TX-MSW extension module is designed for DS-12, DS/DC-16 II and DS/DC-24 transmitters only. Connect the cable leading from the TX-MSW board to the PPM connector on the PCB transmitter. Insert wire ends of the new switch/button/potentiometr through the hole of the TX-MSW board and solder them to the correct solder points (+/-/s). All connected cables for moving parts should have sufficient length in order not to be exposed to any mechanical damage and any bending stresses.
 |
 |
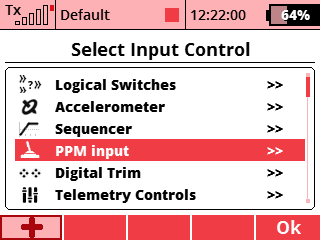
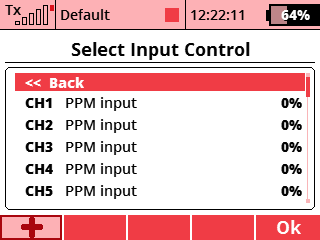
Connect the Li-Ion battery and replace the back cover of the transmitter. All connected switches/buttons/potentiometers by TX-MSW expansion module can be found and used as PPM input.
 |
 |


